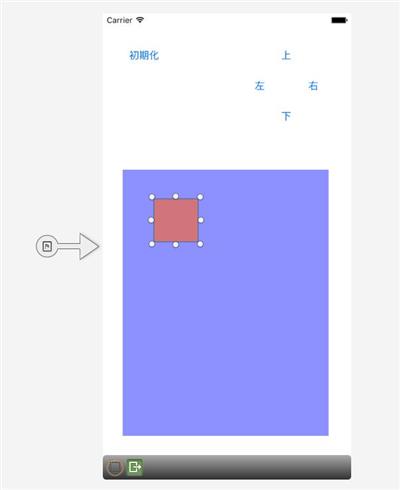
Xamarin.Forms でドラッグを実装しよう(のうりん編)
http://www.moonmile.net/blog/archives/7653
Xamarin.Forms でドラッグを実装しよう(Android編)
http://www.moonmile.net/blog/archives/7667
Xamarin.Forms でドラッグを実装しよう(Xamarin.Forms on Android編)
http://www.moonmile.net/blog/archives/7670
の続きです。iOS 版は比較的簡単にできたので、Xamarin.iOS 版と Xamarin.Forms 版をいっぺんに作っていしまいます。
サンプルコード
https://github.com/moonmile/BoxDrag にあります。
Xamarin.iOS でドラッグを実装する
iOS のみで動くバージョンは、BoxDragApple.iOS というプロジェクトのほうです。以前は、ViewController にタップイベント(TouchesBegan等)を送っていたのですが、今回は Android と動きを合わせるために自前のコントロール BoxViewEx を作ります。
1 2 3 4 5 6 7 8 9 10 11 12 13 14 15 16 17 18 19 20 21 22 23 24 25 26 27 28 29 | partial class BoxViewEx : UIView{ public BoxViewEx (IntPtr handle) : base (handle) { } public override void TouchesBegan(NSSet touches, UIEvent evt) { base.TouchesBegan(touches, evt); UITouch touch = touches.AnyObject as UITouch; } public override void TouchesMoved(NSSet touches, UIEvent evt) { base.TouchesMoved(touches, evt); UITouch touch = touches.AnyObject as UITouch; var newPoint = touch.LocationInView(this); var previousPoint = touch.PreviousLocationInView(this); nfloat offsetX = previousPoint.X - newPoint.X; nfloat offsetY = previousPoint.Y - newPoint.Y; this.Frame = new CoreGraphics.CGRect( this.Frame.X - offsetX, this.Frame.Y - offsetY, this.Frame.Width, this.Frame.Height); } public override void TouchesEnded(NSSet touches, UIEvent evt) { base.TouchesEnded(touches, evt); }} |
ちょっとはまりどころがあって、Xamarin.iOS でユーザーコントロールを作るときは、
- Storyboard で、BoxViewEx を記述してコントロールを作る。
- コードのほうで、partial 付きの BoxViewEx クラスが作られる。
- 生成された BoxViewEx.cs を使う
という手順が必要です。先に BoxViewEx クラスを作ったり、partial 無しで作ったのですがうまく動きません。おそらく Storyboard のデザイナで自前コントロールを作ったときに、何らかの ID が割り振られるのでしょう。
BoxViewEx クラスは、UIView を継承しただけなので普通に Storyboard で扱えます。
タッチイベントによるドラッグは、TouchesMoved メソッドをオーバーライドすれば ok です。移動したときの差分を取って Frame プロパティに位置を設定します。
Xamarin.Forms on iOS でドラッグを実装する
iOS オンリー版ができたので、Xamarin.Forms で動くようにします。
Forms のある PCL プロジェクトは Android で作ったときのままにしておいて、BoxDragXF.iOS プロジェクトに、
BoxExRenderer クラスを追加します。
1 2 3 4 5 6 7 8 9 10 11 12 13 14 15 16 17 18 19 20 21 22 23 24 25 26 27 28 29 30 31 32 33 34 35 36 37 38 39 40 41 | using BoxDragXF;using BoxDragXF.iOS;using System;using System.Collections.Generic;using System.Text;using Xamarin.Forms;using Xamarin.Forms.Platform.iOS;using Foundation;using UIKit; [assembly: ExportRenderer(typeof(BoxViewEx), typeof(BoxExRenderer))]namespace BoxDragXF.iOS{ class BoxExRenderer : BoxRenderer { protected override void OnElementChanged(ElementChangedEventArgs<BoxView> e) { base.OnElementChanged(e); } public override void TouchesBegan(NSSet touches, UIEvent evt) { base.TouchesBegan(touches, evt); UITouch touch = touches.AnyObject as UITouch; } public override void TouchesMoved(NSSet touches, UIEvent evt) { base.TouchesMoved(touches, evt); UITouch touch = touches.AnyObject as UITouch; var newPoint = touch.LocationInView(this); var previousPoint = touch.PreviousLocationInView(this); nfloat dx = newPoint.X - previousPoint.X; nfloat dy = newPoint.Y - previousPoint.Y; var el = this.Element as BoxViewEx; el.OnManipulationDelta(el, new ManipulationDeltaRoutedEventArgs(el, dx, dy)); } public override void TouchesEnded(NSSet touches, UIEvent evt) { base.TouchesEnded(touches, evt); } }} |
書き方は、Android の時と同じですね。iOS の場合は、移動距離の差分がすでに計算されているので、そのまま OnManipulationDelta メソッドを呼び出せば ok です。
実行してみる
これを動かしてみたのが、この動画です。
Renderer を切り替えるだけで、Android と iOS が同じように Xamarin.Forms で動くことがわかります。似たような感じで、独自のコントロールを作って、PCL 側で共通で動かすということができる訳です。


