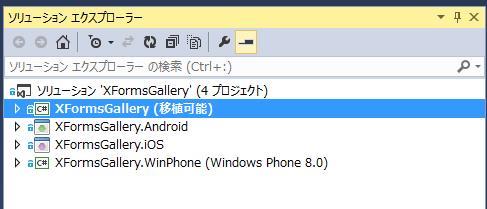
Xamarin.Forms のサンプルに
https://github.com/moonmile/XFormsGallery
ところどころ未完成なところがあるのですが、ひとまず1日で出来上がったところまで。
共通プロジェクトは PCL を使っています。XAML を素直に共通化するだけであれば PCL で良いでしょう。WinStore/WinPhone のユニバーサルプロジェクトのようにコードビハイドに手を加える場合には、共有プロジェクトを使うと良いかと。
■注意
現時点の Xamarin.Formsのバージョンは「1.1.1.6206」になっているのですが、Visual Stuido 2013 に含まれているテンプレートでは、「1.0.6186」になっています。ほとんど変わらないですが TableView の概観がちょっと違うので、Xamarin の Sample のように、最新のバージョンに合わせています。プロジェクトごとに NuGet で最新にしてください。
以下、ざっと XAML にするときに手順を書き下しておきます。
■App.cs を書き換える
プロジェクトテンプレートで作ると、PCL プロジェクトの App.cs にページを作るコードがあります。ここをごっそり削って、Page クラスのインスタンスを返します。ただし、サンプルの場合には特殊でナビゲーションを使っています。この場合は特別に NavigationPage のインスタンスを作成します。
1 2 3 4 5 6 7 | public class App{ public static Page GetMainPage() { return new NavigationPage(new HomePage()); }} |
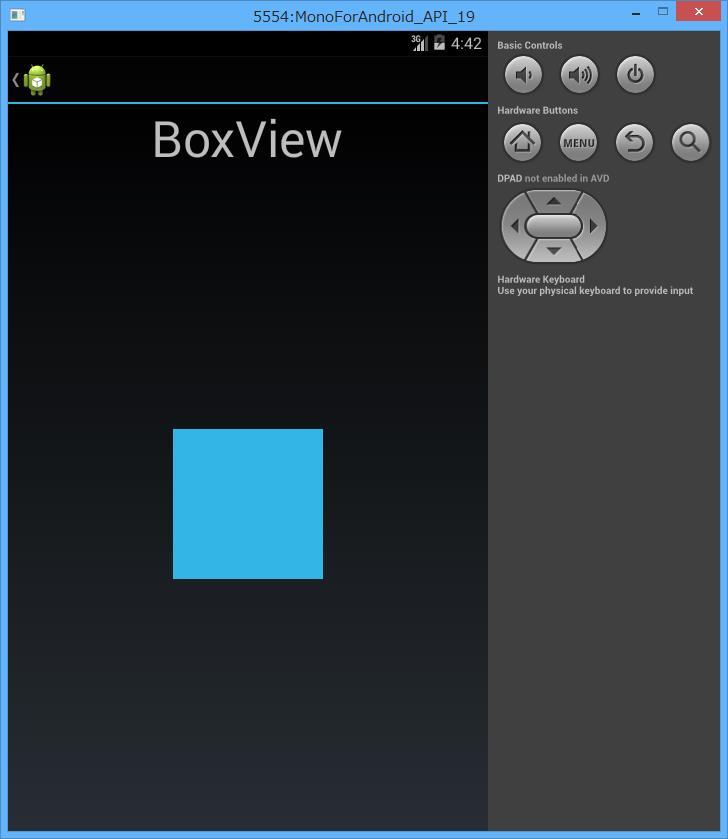
■簡単な LabelDemoPage を作る
ラベルだけが表示されるページはこんな感じです。
1 2 3 4 5 6 7 8 9 10 11 12 13 14 15 16 17 18 | <?xml version="1.0" encoding="utf-8" ?><ContentPage xmlns="http://xamarin.com/schemas/2014/forms" xmlns:x="http://schemas.microsoft.com/winfx/2009/xaml" x:Class="XFormsGallery.LabelDemoPage"> <ContentPage.Padding> <OnPlatform x:TypeArguments="Thickness"> <OnPlatform.iOS>10,20,10,5</OnPlatform.iOS> <OnPlatform.Android>10,0,10,5</OnPlatform.Android> <OnPlatform.WinPhone>10,0,10,5</OnPlatform.WinPhone> </OnPlatform> </ContentPage.Padding> <StackLayout> <Label Text="Label" Font="50" HorizontalOptions="Center"></Label> <Label Font="Large" VerticalOptions="CenterAndExpand"> <Label.Text>Xamarin.Forms is a cross-platform natively backed UI toolkit abstraction that allows developers to easily create user interfaces that can be shared across Android, iOS, and Windows Phone.</Label.Text> </Label> </StackLayout> </ContentPage> |
OnPlatform のところは、OSによってコードを切り替えらるところで、元のサンプルの Device.OnPlatform にあたります。Top だけ切り替えられるような気もするのですが、うまくいかなかったので Thickness まるごと切り替えます。iOS だけ 20 ドット広げてあるのは、iPhone のステータスバー用です。ただし、ナビゲーターの場合は自動でステータスバーに対応しているらしく、これはあまり意味がありません。全画面表示するページを作るときに使う技ですね。
元ネタの LabelDemoPage を見ると、次のようになるので、解りやすいような解りにくいような。
1 2 3 4 5 6 7 8 9 10 11 12 13 14 15 16 17 18 19 20 21 22 23 24 25 26 27 28 29 30 31 32 33 34 35 36 37 38 | class LabelDemoPage : ContentPage{ public LabelDemoPage() { Label header = new Label { Text = "Label", Font = Font.BoldSystemFontOfSize(50), HorizontalOptions = LayoutOptions.Center }; Label label = new Label { Text = "Xamarin.Forms is a cross-platform natively " + "backed UI toolkit abstraction that allows " + "developers to easily create user interfaces " + "that can be shared across Android, iOS, and " + "Windows Phone.", Font = Font.SystemFontOfSize(NamedSize.Large), VerticalOptions = LayoutOptions.CenterAndExpand }; // Accomodate iPhone status bar. this.Padding = new Thickness(10, Device.OnPlatform(20, 0, 0), 10, 5); // Build the page. this.Content = new StackLayout { Children = { header, label } }; }} |
XAML 自体は、Xamarin Studio 上で手書きをします。Visual Studio 上でも書けないことはないのですが、タグのコード補完が効かないので、非常にやりにくいです。本当はデザイナが欲しいところでしょうが、スマートフォンのような小さな画面の場合には自由度が少ないので、ほとんど StackLayout か Grid を使ってしまうのであまり関係ないでしょう。ですが、iPad や Surface のようなタブレットPC のレイアウトをするときにはデザイナは必須ですよね。このあたりは、今後どうするのか不明です。
Windows Phone(SilverLightですが)の XAML に直す時に ConvertPageToUIElement メソッドを呼び出しているので、この逆変換ができれば Visual Studio 上で XAML のデザインができるようになるかもしれません。
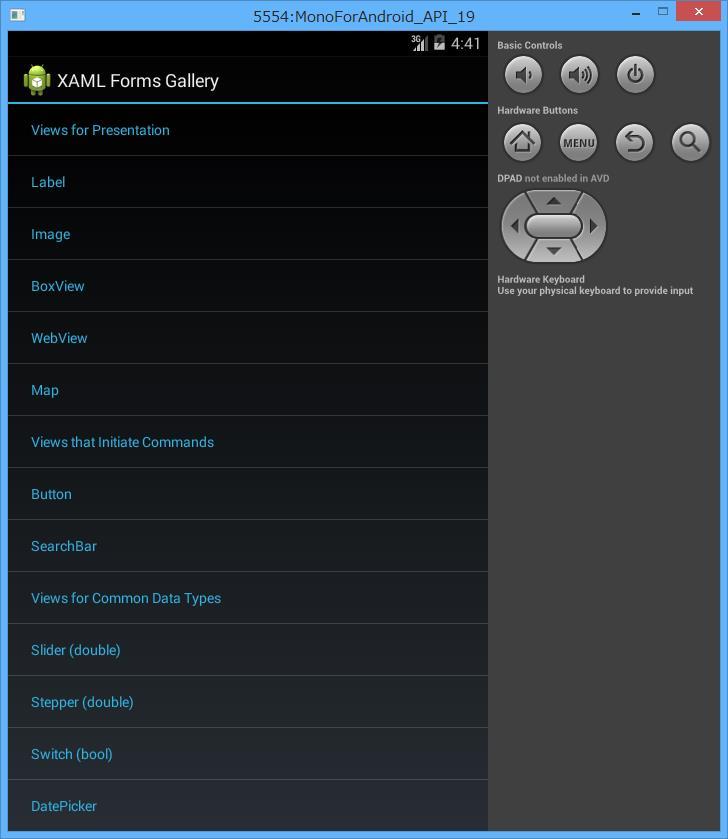
■HomePage ページを作る
トップページは、メニュー用のページです。
TableView でリスト表示をしているのですが、この親子関係が解りづらいところです。
1 2 3 4 5 6 7 8 9 10 11 12 13 14 15 16 17 18 19 | <?xml version="1.0" encoding="utf-8" ?><ContentPage xmlns="http://xamarin.com/schemas/2014/forms" xmlns:x="http://schemas.microsoft.com/winfx/2009/xaml" x:Class="XFormsGallery.HomePage" Title="XAML Forms Gallery"> <TableView Intent="Menu"> <TableView.Root> <TableSection Title="Views for Presentation"> <TextCell Text="Label" x:Name="cellLabel" ></TextCell> <TextCell Text="Image" x:Name="cellImage"></TextCell> <TextCell Text="BoxView" x:Name="cellBoxView"></TextCell> <TextCell Text="WebView" x:Name="cellWebView"></TextCell> <TextCell Text="Map" x:Name="cellMap"></TextCell> </TableSection> <TableSection Title="Views that Initiate Commands"> <TextCell Text="Button" x:Name="cellButton" ></TextCell> <TextCell Text="SearchBar" x:Name="cellSearchBar"></TextCell> </TableSection>... |
ただし、元ネタの HomePage.cs を覗いてみると、TableView <- TableView.Root <- TableRoot <- TableSection <- TextCell <- TextCell の関係が解るので、そのまま書き写しています。XAML では TableRoot を省略しても動作するようです(TableView.Rootのほうは省略できないんですよね。ここは Children にして欲しかった)。
1 2 3 4 5 6 7 8 9 10 11 12 13 14 15 16 17 18 19 20 21 | this.Title = "Forms Gallery";this.Content = new TableView { Intent = TableIntent.Menu, Root = new TableRoot { new TableSection("Views for Presentation") { new TextCell { Text = "Label", Command = navigateCommand, CommandParameter = typeof(LabelDemoPage) }, new TextCell { Text = "Image", Command = navigateCommand, CommandParameter = typeof(ImageDemoPage) }, |
タップなどの操作は非常に制限されています。労力を減らすたか、これから実装するのか解りませんが、TextCell の場合は Command パターンで呼び出しをしています。ただし、主要なボタンコントロールなどには Clicked イベントが用意されているので、そのままコードビハイドで書くことができます。
WPFやWinStoreで XAML を手書きしたことがある人ならば、デザイナがなくても大体想像して書けるかなという感じですね。Xamarin.Forms の DTD は無いようなので、親子関係はマニュアル http://iosapi.xamarin.com/?link=N%3aXamarin.Forms を見る必要があるのですが、まあ元ネタを見比べていけば、これも想像で書ける範囲かと思います。