前回、Ctrl+PrintScreen でアクティブなウィンドウをキャプチャする | Moonmile Solutions Blog を書いている時に、あらかじめ指定したウィンドウの画面キャプチャをする、というのも書いたので晒しておきます。
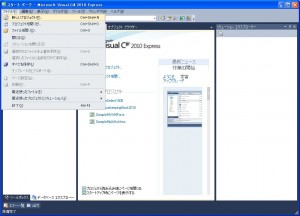
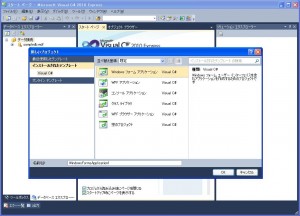
どうも CopyFromScreen を使ったり、hDC を使って画面キャプチャをすると、Visual Studio 2010 のメニューがキャプチャできないんですよね…仕方がないので、SendKeys クラスを使ってキーエミュレートをします。
キャプチャ画面はこんな感じ。メインウィンドウに乗っている場合、そのままキャプチャします。
■メインウィンドウを持つプロセスの一覧を取得
まずは、ウィンドウを持つプロセス一覧を取って、hWnd を保存しておきます。
1 2 3 4 5 6 7 8 9 10 11 12 13 14 15 16 17 18 19 20 | ////// プロセス一覧を取得////// <param name="sender" />/// <param name="e" />private void button3_Click(object sender, EventArgs e){ listBox1.Items.Clear(); foreach (Process p in Process.GetProcesses()) { if (p.MainWindowHandle != IntPtr.Zero) { Debug.Print(p.MainWindowTitle); ProcessWin pw = new ProcessWin(); pw.Title = p.MainWindowTitle; pw.hWnd = p.MainWindowHandle; listBox1.Items.Add(pw); } }} |
■リストで選択してキャプチャ
1 2 3 4 5 6 7 8 9 10 11 12 13 14 15 16 17 18 19 20 21 22 23 24 25 | ////// Window Proc のオーバーライド////// <param name="message" />protected override void WndProc(ref Message message){ if (message.Msg == WM_HOTKEY && (int)message.WParam == HOTKEY_ID) { if (checkBox1.Checked == false) { // PrtSc キーを送信 SendKeys.SendWait("^{PRTSC}"); return; } else { if (listBox1.SelectedIndex == -1) return; ProcessWin pw = (ProcessWin)listBox1.SelectedItem; Bitmap bmp = WindowCapture(pw.hWnd); Clipboard.SetImage(bmp); return; } } base.WndProc(ref message);} |
1 2 3 4 5 6 7 8 9 10 11 12 13 14 15 16 17 18 19 20 21 22 23 | ////// 指定したウィンドウをキャプチャ//////private Bitmap WindowCapture( IntPtr hWnd ){ IntPtr hDC = GetWindowDC(hWnd); //ウィンドウの大きさを取得 RECT rect = new RECT(); GetWindowRect(hWnd, ref rect); Bitmap bmp = new Bitmap(rect.right - rect.left, rect.bottom - rect.top); // キーエミュレート SendKeys.SendWait("^{PRTSC}"); Application.DoEvents(); Image img = Clipboard.GetImage(); if (img != null) { // クリップボードから指定画面を切り取る Graphics g = Graphics.FromImage(bmp); g.DrawImage(img, -rect.left, -rect.top); } return bmp;} |
これをホットキーの【Ctrl】+【PrtSc】に設定しておけば ok です。


